How to Prepare Sea Moss Gel at Home for Wellness
Learn how to prepare sea moss gel safely and effectively at home. This guide covers cleaning, soaking, blending, and storage for optimal use.

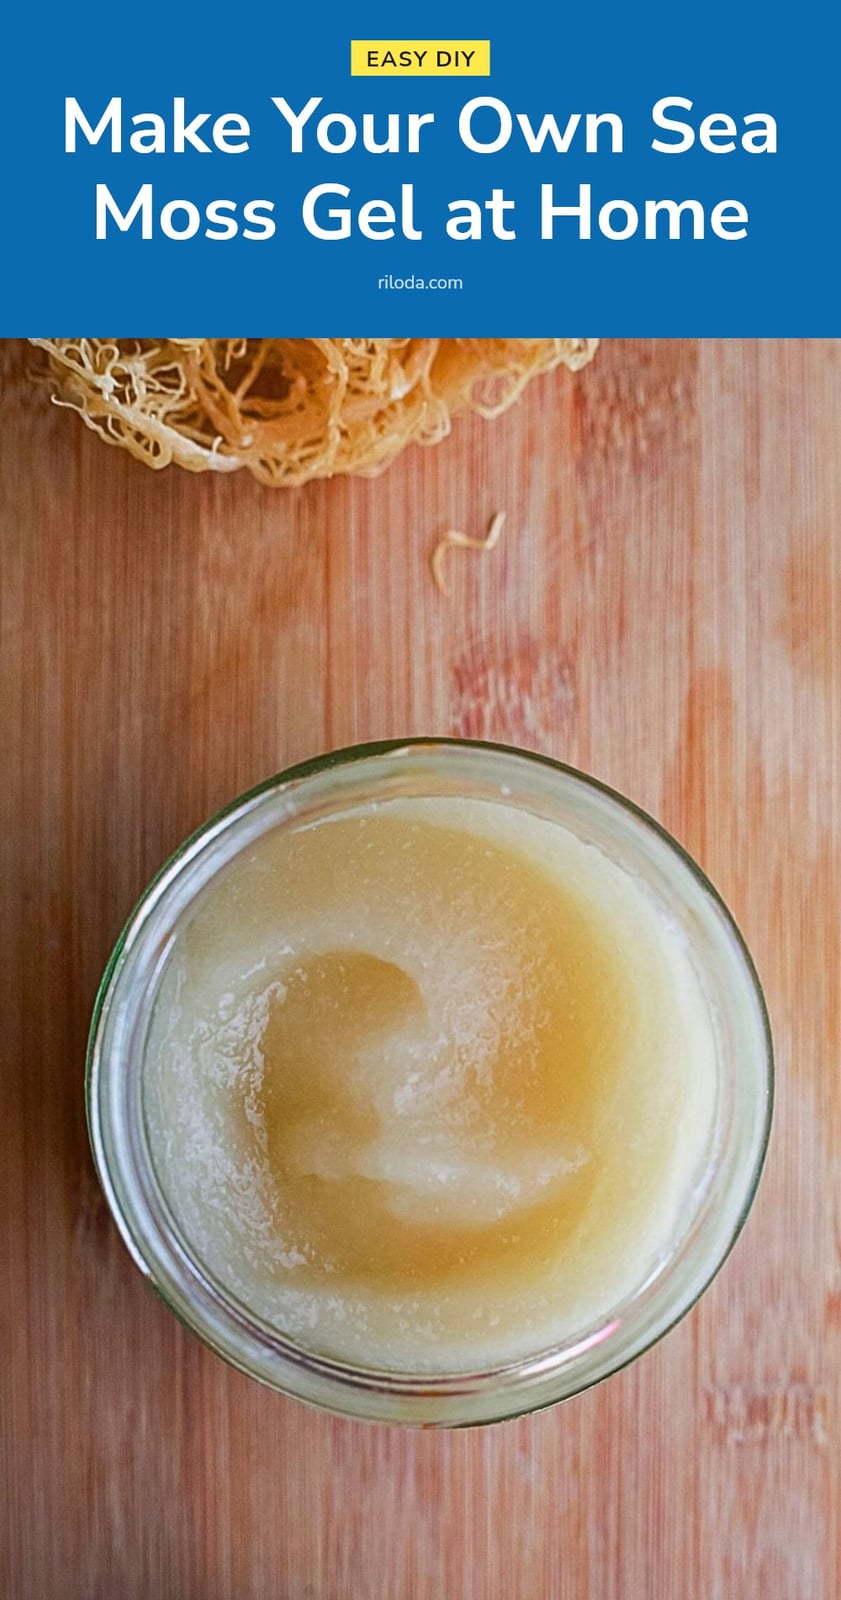
If you’ve been curious about adding sea moss to your wellness routine, making your own gel at home is simpler than you might think. This article walks you through the entire process, from cleaning and soaking to blending and storing, so you can enjoy this mineral-rich red algae in smoothies, soups, or even as a face mask. I’ll also cover common mistakes to avoid and important safety considerations.
Key Takeaways
- Rinse raw sea moss 3-4 times to remove sand and debris.
- Soak for 4-24 hours in filtered or spring water.
- Blend soaked sea moss with 1-1.5 cups water per cup of moss.
- Store gel in an airtight glass jar in the fridge for up to 2-3 weeks.
- Start with small amounts and consult a doctor if you have thyroid issues.
Preparing Sea Moss Gel: Your Quick Guide
Start by rinsing raw sea moss under cool, filtered water several times to remove any sand or ocean debris. Place the cleaned sea moss in a large bowl and cover it completely with filtered or spring water. Let it soak for 4 to 24 hours until it softens and expands. Drain the soaking water, rinse again, then blend the rehydrated sea moss with fresh filtered water until smooth. Pour the gel into an airtight glass jar and refrigerate. It will keep for up to 2-3 weeks.
Essential Tools and Ingredients for Sea Moss Preparation
Gather these items before you begin:
- Raw dried sea moss: Chondrus crispus or Eucheuma cottonii, from a reputable source.
- Large bowl: For soaking and cleaning the sea moss.
- Strainer or colander: For thorough rinsing.
- Filtered or spring water: Avoid tap water, which may contain chlorine.
- High-speed blender: Ensures a smooth, consistent gel.
- Airtight glass jar: For storing the finished gel in the refrigerator.
Step-by-Step: Making Your Own Sea Moss Gel

- Clean the sea moss: Rinse the raw sea moss under cool, filtered water 3-4 times, rubbing gently to dislodge any sand, debris, or ocean particles. Discard any discolored or hard pieces.
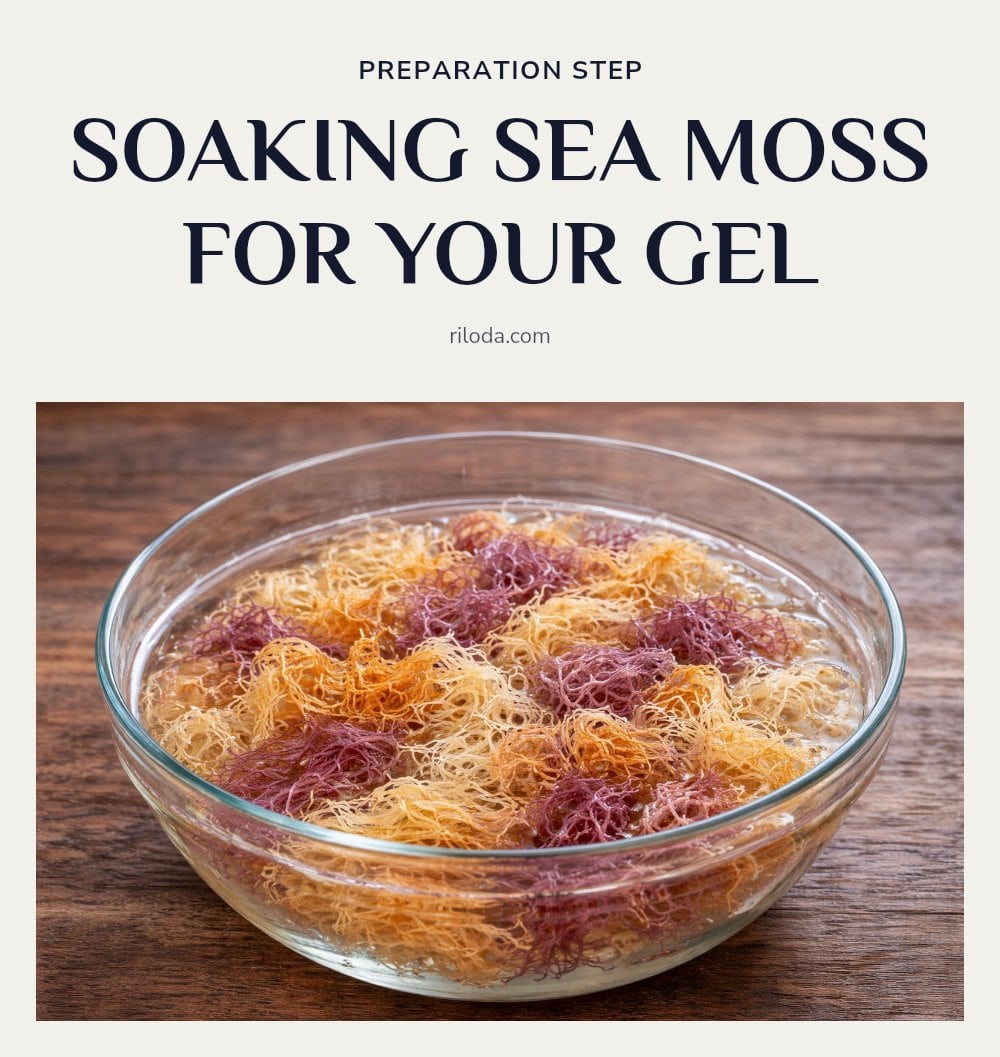
- Soak the sea moss: Place the cleaned sea moss in a large bowl and cover it completely with filtered or spring water. Soak for 4 to 24 hours, the longer soak yields a softer, easier-to-blend gel. The sea moss will expand and turn translucent.
- Rinse again: Drain the soaking water and rinse the rehydrated sea moss under running filtered water. This removes any remaining residue.
- Blend the sea moss: Transfer the rinsed sea moss to a high-speed blender. Add 1 to 1.5 cups of fresh filtered water per cup of soaked sea moss. Start with 1 cup of water for a thicker gel, or 1.5 cups for a thinner, pourable consistency.
- Blend until smooth: Blend on high for 1-2 minutes, stopping to scrape down the sides if needed. The mixture should be completely smooth, with no visible chunks, and have a gel-like consistency.
- Store the gel: Pour the sea moss gel into an airtight glass jar. Refrigerate immediately. Use within 2-3 weeks.
Common Mistakes to Avoid When Preparing Sea Moss
Avoid these common pitfalls for a better result:
- Not cleaning thoroughly: Rinse multiple times. Gritty gel comes from leftover sand or debris.
- Using tap water: Chlorine in tap water can affect the sea moss. Always use filtered or spring water.
- Incorrect soaking time: Soak for at least 4 hours, up to 24. Too short and the sea moss stays tough; too long and it may become slimy.
- Too little water when blending: Start with a 1:1 or 1:1.5 ratio of soaked sea moss to water. Add more water gradually if the gel is too thick.
- Improper storage: Always use an airtight container and refrigerate. Never leave the gel at room temperature, or it can spoil quickly.
- Consuming too much too quickly: Start with a small amount, like one tablespoon per day, to see how your body responds.
Expert Tips for Optimal Sea Moss Gel Preparation and Use

Source wisely: Wildcrafted sea moss from reputable suppliers may have higher nutrient content and fewer additives than farmed varieties. Look for suppliers that share their harvesting location and testing practices.
Adjust consistency: For thicker gel that holds its shape, use less water (around 1:1 ratio). For a pourable gel that mixes easily into drinks, add up to 1.5 cups water per cup of soaked sea moss.
Flavor neutralizer: Squeeze half a lemon or lime into the blender with the sea moss and water. The citrus cuts the briny taste without overpowering recipes you add it to later.
Versatile use: Stir a spoonful into smoothies, soups, or sauces for mineral boost and natural thickening. Apply a thin layer directly to clean skin as a mask for 10-15 minutes, then rinse.
Pre-portion: Pour extra gel into ice cube trays and freeze. Pop out a cube each morning to drop into a smoothie or thaw for a single serving, extending shelf life well beyond 3 weeks.
Timeline for Sea Moss Preparation and Storage
Preparation Time: Soaking takes 4 to 24 hours, depending on how soft you want the sea moss. Blending adds only 5-10 minutes after rinsing.
Storage Duration: Keep the finished gel in an airtight glass jar in the refrigerator. It stays fresh for up to 2-3 weeks.
Frequency of Preparation: Make a fresh batch every 2-3 weeks for best texture and potency. Freezing portions in ice cube trays lets you stretch that window longer.
Cost: Raw dried sea moss varies in price by source and type, but homemade gel generally costs less per serving than pre-made versions. Buying in bulk from a trusted supplier can lower the per-batch cost further.
When to Consult a Healthcare Professional About Sea Moss
Sea moss is naturally rich in iodine, which can affect thyroid function. Consult a healthcare professional before adding it to your routine if you have a pre-existing thyroid condition.
If you are pregnant or breastfeeding, check with your doctor first due to the iodine content and potential effects on infant thyroid development.
Speak with a pharmacist or doctor if you take prescription medications. Sea moss may interact with certain drugs, particularly those affecting the thyroid or blood clotting.
Stop using sea moss and seek medical advice if you experience digestive upset, skin reactions, or changes in energy or thyroid function after consumption.
Before making any significant dietary changes, especially with potent superfoods, a professional can help you assess whether it fits your individual health needs.
Frequently Asked Questions
What is the best type of sea moss to use?
Both Chondrus crispus and Eucheuma cottonii are common types of sea moss. Wildcrafted sea moss from a reputable supplier may have higher nutrient content and fewer additives, but farmed varieties can also be fine. Look for suppliers that share their harvesting location and testing practices to ensure purity.
Can I use sea moss gel if I’m pregnant?
If you are pregnant or breastfeeding, it’s best to check with your doctor before adding sea moss to your routine. The high iodine content could affect thyroid function, which is especially important during these times. Your healthcare provider can give personalized advice based on your health history.
How much sea moss gel should I consume daily?
There is no standard dosage, but many people start with one to two tablespoons per day. Begin with a smaller amount to see how your body reacts, and don’t exceed that without checking with a professional. Excessive iodine intake can be harmful, so moderation is key.
Does sea moss gel taste like the ocean?
Sea moss gel has a mild, slightly oceanic flavor, but it’s generally not overpowering. When blended into smoothies or soups, it’s barely noticeable. If you’re sensitive to taste, you can add it to strongly flavored dishes like berry smoothies or tomato-based stews.
Can sea moss gel be frozen for longer storage?
Yes, you can freeze sea moss gel to extend its shelf life beyond the 2-3 weeks in the fridge. Spoon it into an ice cube tray, freeze until solid, then transfer the cubes to a freezer bag. Thaw only what you need, and use it within a few months for best quality.
Final Thoughts
Making sea moss gel at home is a straightforward process that rewards patience and attention to detail. Start with a small batch, adjust the water ratio to get the consistency you like, and add it gradually to your meals. Expect the gel to keep for two to three weeks in the fridge, so plan your batches accordingly. Remember, consistency matters more than any single superfood, so pair sea moss with a balanced diet and realistic expectations.
This article is for general informational purposes only and is not a substitute for professional medical advice. Always consult a healthcare provider before adding sea moss to your diet, especially if you have a thyroid condition, are pregnant, breastfeeding, or take medications. If you experience any adverse reactions, stop use and seek medical attention.
More Blog ideas
- How to Use Rose Water for Radiant Skin and Healthy Hair
- What Is My Personality Type? Understanding Yourself Better
- How to Clean Your Pores at Home
- Vitamin C Benefits for Skin and Health Plus the Best Foods
- How to Start Shadow Work for Deeper Self-Understanding
- How to Prep Your Hair Before Bleaching for Less Damage
- How to Use Rice Water for Glowing Skin and Shiny Hair
- How to Find Morning Motivation When You Want to Stay in Bed
- Filing Nails: How to File Nails Correctly for Strong, Healthy Fingernails
- Healthy Coping Skills: Proven Strategies for Difficult Times
- Simple Ways to Romanticize Your Life Every Day
- Effortless Shower Cleaning