Filing Nails: How to File Nails Correctly for Strong, Healthy Fingernails
Master the art of filing nails at home to prevent splitting and peeling. Achieve smooth, strong nails with expert tips and techniques.

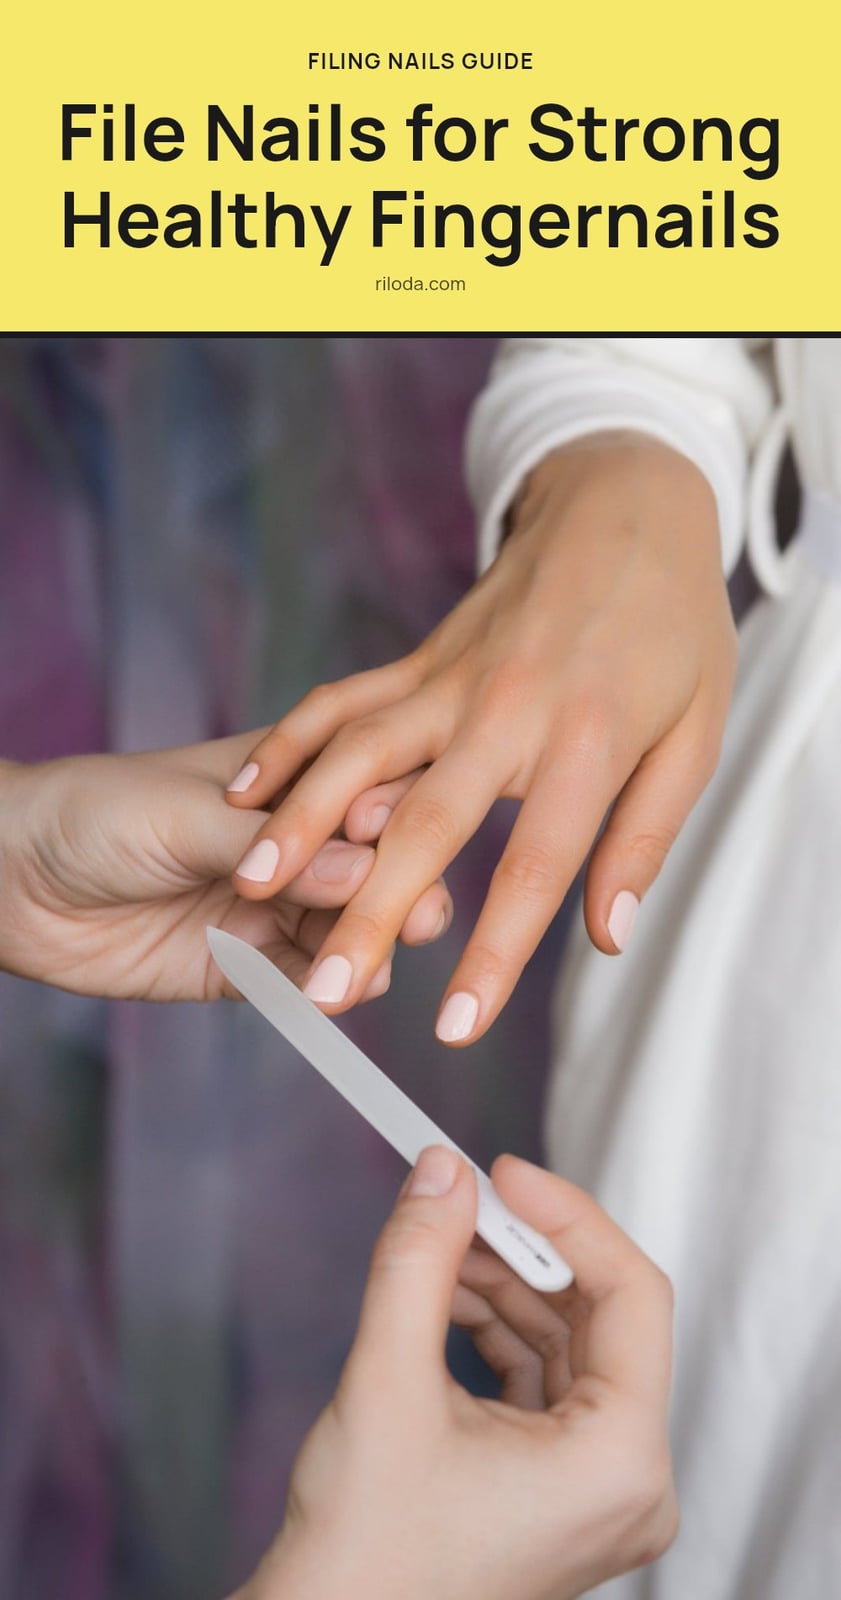
Split, peeling edges usually come down to two habits: the file you pick up and the motion you use with it. Get those right and your nails stay smooth and strong without a salon visit. This article walks you through the tools worth having, the filing technique that seals the edge instead of fraying it, the mistakes that undo your progress, and how often to touch up your shape.
My tip: keep it light and frequent rather than aggressive and rare. A quick pass every few days beats one heavy session that thins the nail.
Key Takeaways
- Choose a fine-grit file of 180 to 240 or higher for natural nails, never a coarse one.
- File only completely dry nails, since wet nails are flexible and tear easily.
- Work in one direction from the side toward the center, never sawing back and forth.
- Use light pressure and hold the file almost parallel to the nail plate.
- Touch up your shape once a week or every few days, and clean reusable files regularly.
The Secret to Strong, Smooth Nails
Filing your nails correctly at home is the single best way to prevent splitting, peeling, and breakage. The secret is using the right tools and technique: always choose a fine-grit file and work in one consistent direction on dry nails. That simple habit seals the nail edge and keeps your natural nails strong and smooth between salon visits.
Your Essential Nail Filing Toolkit
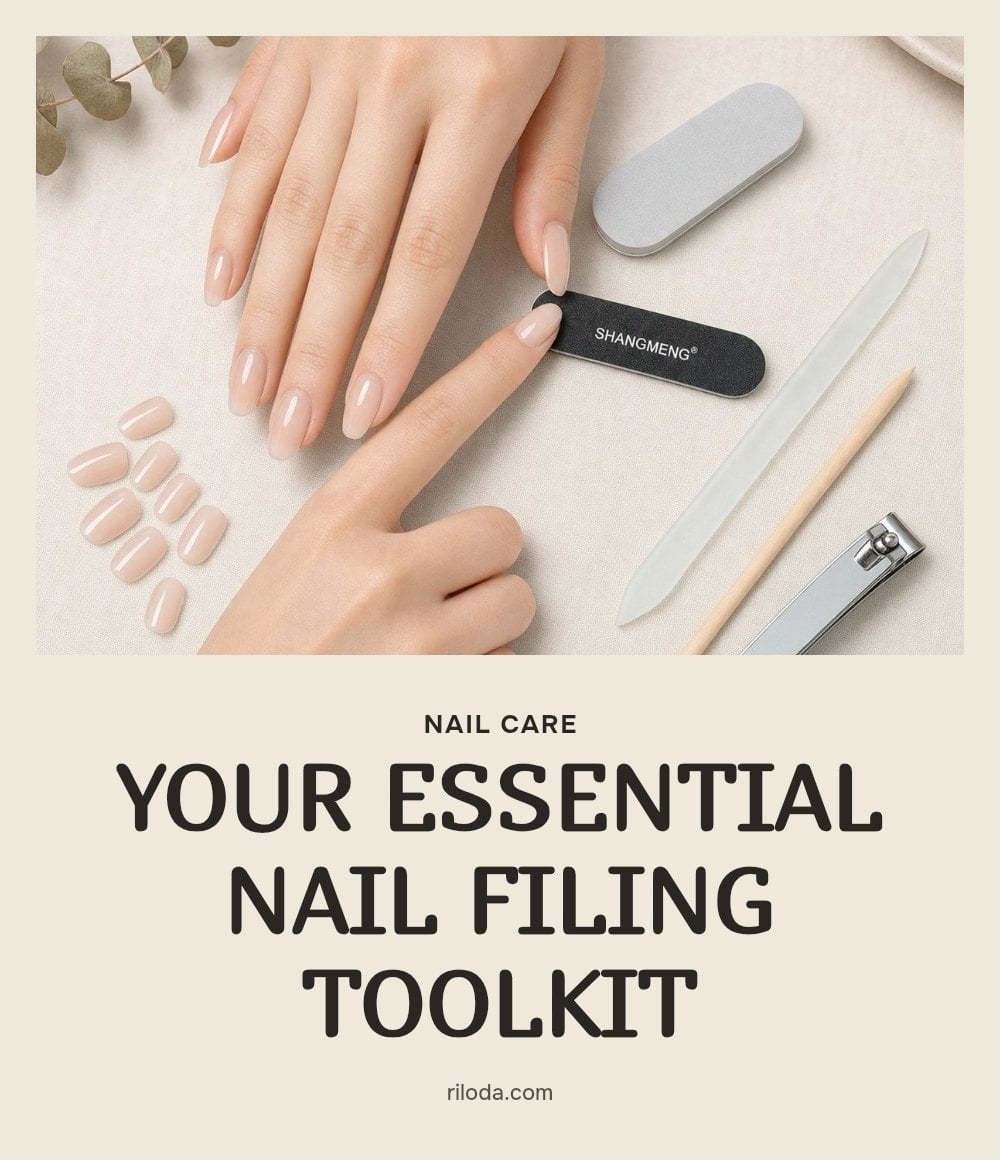
You only need a few tools to file nails safely at home.
- Fine-grit nail file (180-240 or higher): This grit is ideal for natural nails and prevents damage.
- Glass or crystal file: Gentler than emery boards, it helps seal the nail edge for a smoother finish.
- Nail buffer: Use it after filing to smooth rough edges and add a natural shine.
- Cuticle oil or hand cream: Hydrate nails and cuticles after filing to keep them healthy.
Step-by-Step: Filing Your Nails Perfectly
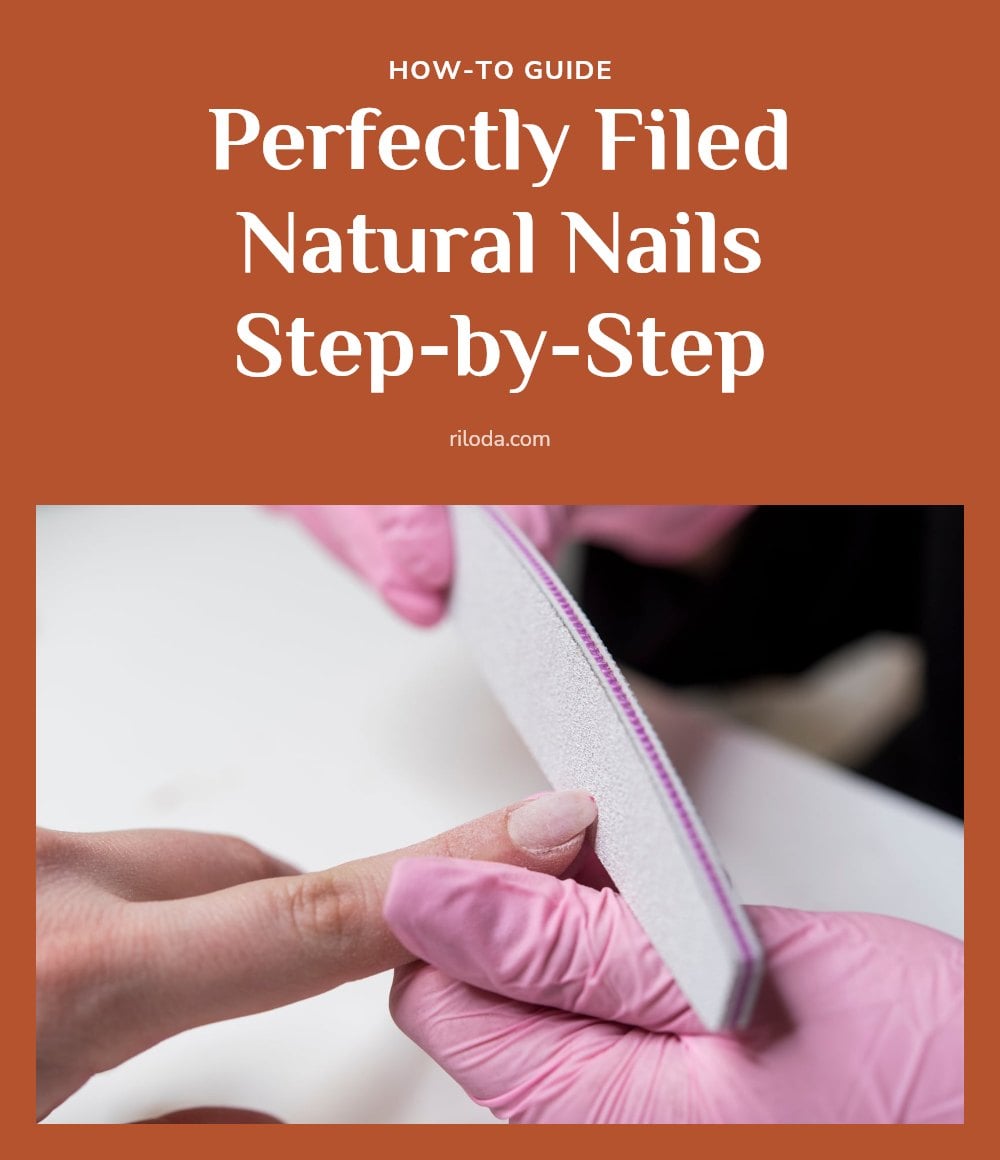
Follow these steps for a perfect at-home file.
- Start with dry nails: Filing wet nails causes tearing and peeling. Wait until your nails are completely dry.
- Choose your file: Pick a fine-grit file (180-240 or higher) designed for natural nails.
- Hold the file correctly: Position it almost parallel to the nail plate, slightly underneath the free edge.
- File in one direction: Move from the outer edge toward the center in a single, smooth stroke. Never saw back and forth.
- Use light pressure: Gentle, consistent strokes shape your nail without weakening it. Repeat on each nail until you reach your desired shape and length.
Common Nail Filing Mistakes to Avoid
Even with good intentions, a few habits can undo your progress. Avoid these common mistakes.
- Filing wet nails: Nails are more flexible when wet, so filing them leads to splitting and peeling. Always file dry nails.
- Sawing back and forth: This motion frays the nail edge and weakens the nail plate. File in one direction only.
- Using a coarse file on natural nails: Grits below 180 are too aggressive and cause damage. Stick with fine-grit files.
- Applying too much pressure: Pressing hard can thin and crack the nail. Use light, gentle pressure.
- Filing too deeply into the sides: This weakens the nail structure and leads to breakage. Stay away from the nail bed.
Pro Tips for Healthier, Stronger Nails

My tip: Switch to a glass or crystal file if you haven’t already. They are gentler on natural nails than traditional emery boards and can help seal the nail edge as you file, which reduces fraying.
Make filing a light, frequent habit. A quick touch-up every few days is far better for nail strength than one aggressive session each week. After you finish shaping, a quick buff smooths any remaining rough edges and adds a natural shine without polish.
Finish every filing session with moisture. Apply cuticle oil or hand cream to your nails and cuticles to keep them hydrated and flexible, which directly supports nail strength.
How Often to File Your Nails
You can file your nails as often as needed to maintain your desired shape and length. For most people, that means once a week or every few days. The results are visible immediately after filing, and with consistent proper technique, you will notice improved nail health over time.
The cost of the right tools is minimal. A fine-grit emery board costs just a few dollars, while a quality glass or crystal file runs between $10 and $20 and lasts much longer.
When to Consult a Nail Professional or Dermatologist
If you experience persistent splitting, peeling, or discoloration despite using proper filing techniques, it could indicate an underlying issue. Stop filing immediately if you feel any discomfort or pain.
Consult a dermatologist or nail professional if you notice pain, signs of infection, or unusual changes in your nail health that do not improve with home care. A professional can help identify whether a medical condition or a product reaction is causing the problem.
Frequently Asked Questions
Can I file my nails every day?
You can, but keep it to a light touch-up rather than full reshaping. Daily gentle passes with a fine-grit file are fine for maintaining shape, while heavy filing every day thins the nail edge. If your nails start feeling thin or sensitive, space it out to once a week or every few days.
Why do my nails still split after filing?
Check three things first: whether your nails were fully dry, whether you sawed back and forth, and whether your file was too coarse. Any of these frays the edge and leads to splitting. If you have corrected all three and still see persistent splitting or peeling, it may point to an underlying issue worth discussing with a dermatologist or nail professional.
How do I choose the right nail shape for my fingers?
There is no single correct shape, so pick one that suits your hand and lifestyle. Square and coffin styles keep more length at the corners, while oval, round, and almond soften the look and tend to be more forgiving on natural nails. Whichever you choose, file in one direction and avoid digging too far into the sides.
Should I file my nails wet or dry?
Dry, always. Wet nails are more flexible, so filing them encourages tearing, splitting, and peeling. Wait until your nails are completely dry before you pick up the file, and save any soaking or washing for afterward.
Final Thoughts
If you take one thing from this, make it the direction rule: one consistent stroke from the outer edge toward the center on dry nails with a fine-grit file. That single habit does more for strength than any product. Expect results right after you file, and give consistent technique a few weeks before you judge the change in splitting and peeling.
Keep your file clean and replace it when it stops cutting smoothly, and moisturize your nails and cuticles afterward. Small, regular care adds up to nails that look polished without the salon.
More Blog ideas
- How to Use Rose Water for Radiant Skin and Healthy Hair
- What Is My Personality Type? Understanding Yourself Better
- How to Clean Your Pores at Home
- Vitamin C Benefits for Skin and Health Plus the Best Foods
- How to Start Shadow Work for Deeper Self-Understanding
- How to Prep Your Hair Before Bleaching for Less Damage
- How to Prepare Sea Moss Gel at Home for Wellness
- How to Use Rice Water for Glowing Skin and Shiny Hair
- How to Find Morning Motivation When You Want to Stay in Bed
- Healthy Coping Skills: Proven Strategies for Difficult Times
- Simple Ways to Romanticize Your Life Every Day
- Effortless Shower Cleaning