Planks Guide: Correct Form, Hold Times, and Easy Variations
Learn how to do planks with perfect form, understand ideal hold times, and discover variations for all fitness levels to strengthen your core effectively.

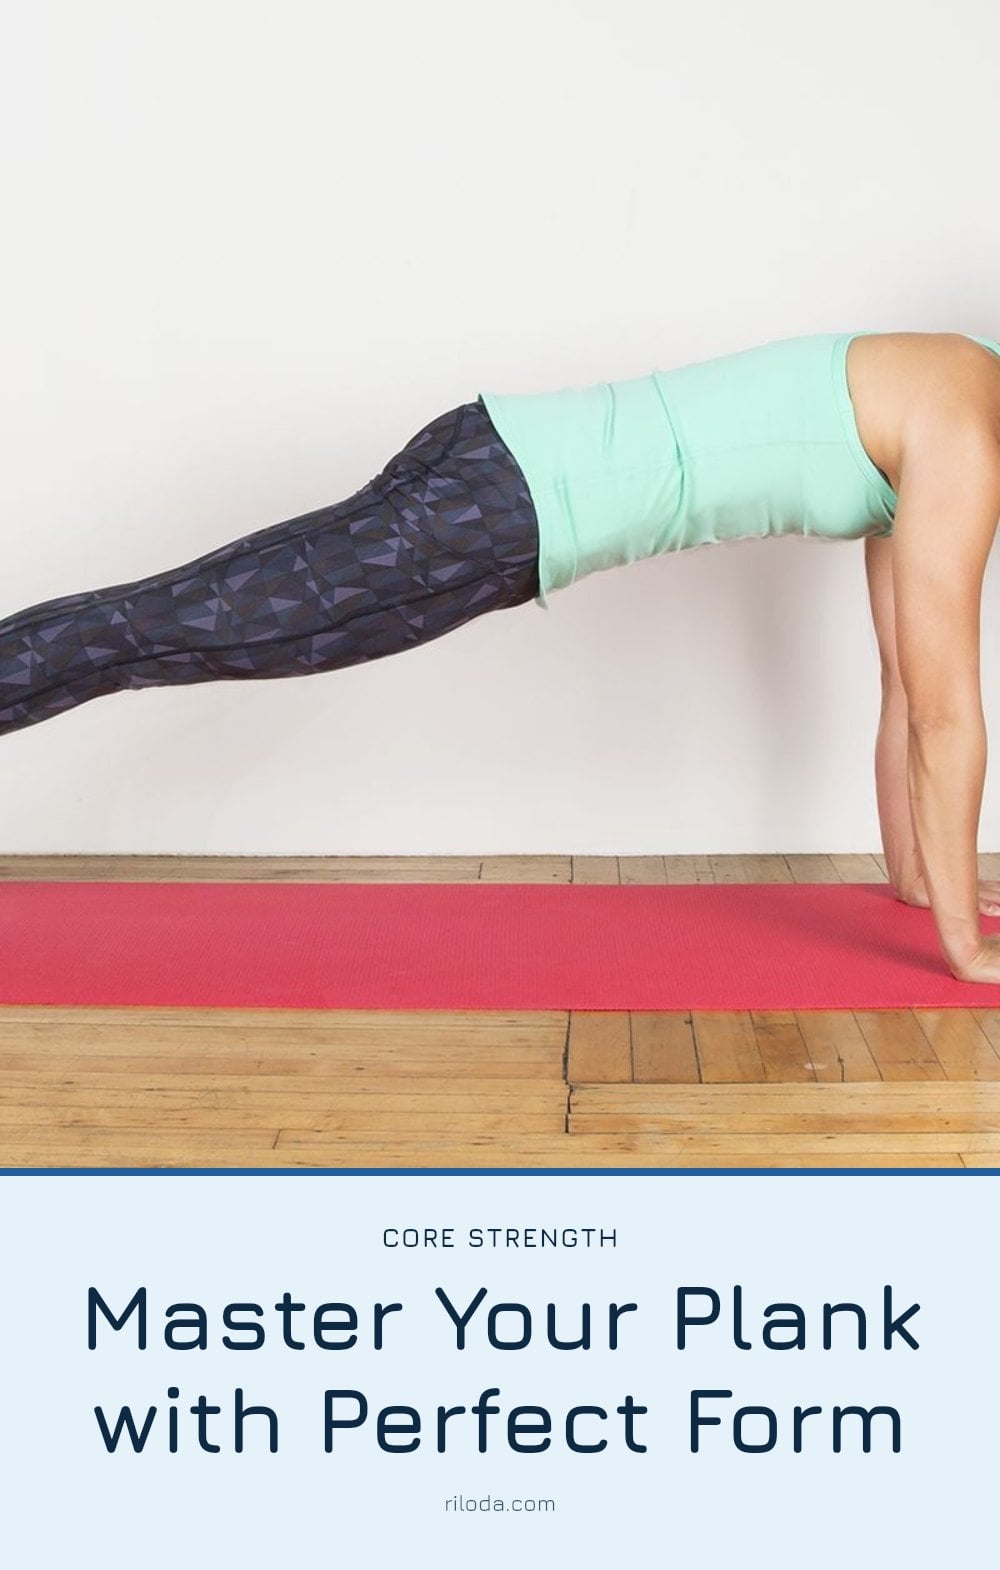
You already know a strong core is key for just about everything, from carrying groceries to improving your posture. But when it comes to planks, it’s not about how long you can hold one; it’s about how well you hold it. In this article, I’ll walk you through the correct form, common mistakes to avoid, and simple variations so you can plank with confidence and get the most out of this powerful move.
Key Takeaways
- Keep your body in a straight line from head to heels to engage the core properly.
- Beginners should start with 20-30 second holds and focus on form before increasing time.
- Aim for 3 to 5 plank sessions per week, with at least one rest day between.
- Stop immediately if you feel sharp pain in your back, shoulders, or neck.
- Modify with knee planks or elevated planks if the standard version is too challenging.
What is a Plank and Why Is It So Effective?
A plank is a simple but demanding bodyweight exercise that builds core strength by holding your body in a straight line, supported by your forearms and toes. It targets the rectus abdominis, transverse abdominis, and obliques, but it also works your shoulders, arms, glutes, and legs for a full-body stabilization challenge. Many people focus on how long they can hold a plank, but proper form is far more important. A 20-second plank with perfect alignment is more effective than a minute-long plank with a sagging back or raised hips.
Essential Gear for Your Plank Workout

You do not need much to start planking, but a few items make the exercise more comfortable and effective.
- Exercise mat: Provides cushioning for your forearms and elbows, especially on hard floors.
- Comfortable workout clothes: Choose flexible fabrics that let you move freely and do not restrict your breathing.
- Timer or stopwatch: Use your phone or a fitness watch to track hold times so you can gradually increase duration without guessing.
Step-by-Step: Achieving Perfect Plank Form
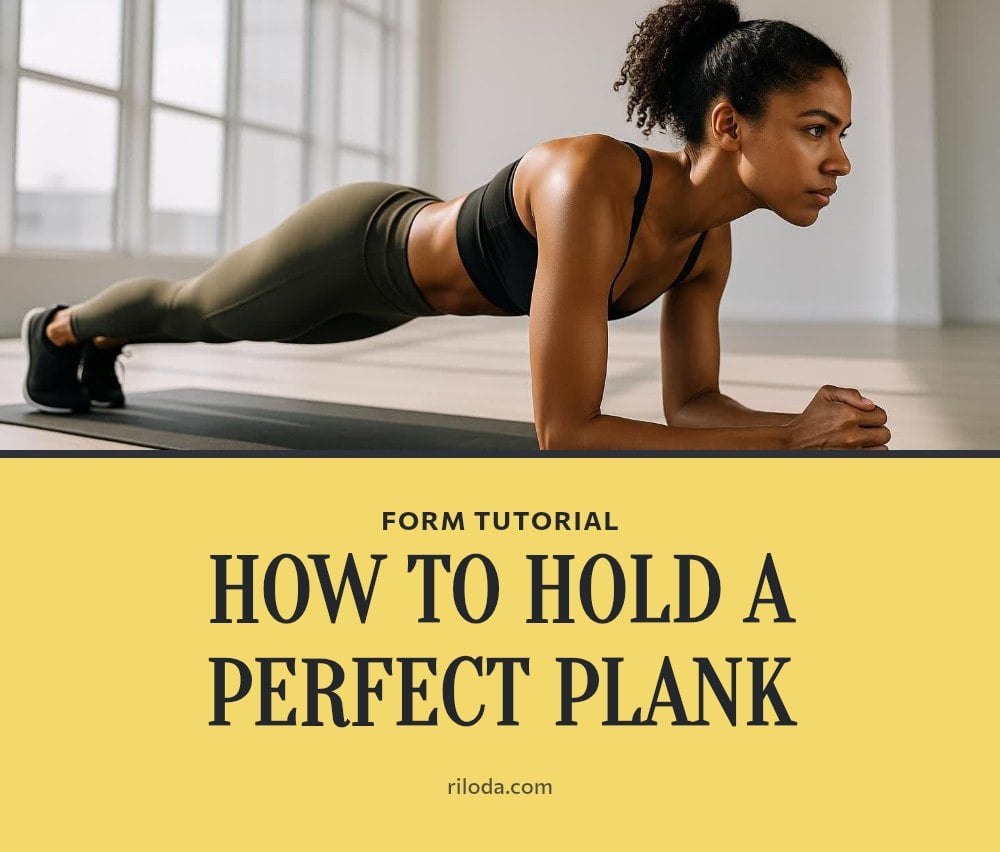
- Set your position: Start on your hands and knees, then lower onto your forearms. Place your elbows directly under your shoulders, with your forearms flat on the mat and hands relaxed or lightly clasped.
- Extend your legs: Step your feet back one at a time until your legs are straight. Your weight should rest on your toes and forearms.
- Align your body: Squeeze your glutes and engage your core by pulling your belly button toward your spine. Keep your body in a straight line from the top of your head through your heels. Your hips should not sag or rise.
- Neutral neck: Look down at the floor, about a foot in front of your hands. This keeps your cervical spine in a straight line with the rest of your body.
- Breathe: Inhale and exhale deeply and steadily throughout the hold. Do not hold your breath, which can raise blood pressure and cause you to fatigue faster.
Common Plank Mistakes and How to Fix Them
Even small form errors can reduce the effectiveness of a plank or lead to discomfort. Here are the most common mistakes and how to correct them.
- Sagging hips: This puts strain on the lower back. Fix: Squeeze your glutes and engage your core to lift your hips back into a straight line.
- Hips too high: Raising the buttocks into an inverted V reduces core engagement. Fix: Lower your hips until your body forms a straight line from head to heels.
- Holding your breath: It can increase blood pressure and make the hold harder. Fix: Breathe in and out steadily, matching each breath to a few seconds of the hold.
- Straining your neck: Looking forward instead of down arches the neck. Fix: Keep your gaze on the floor about a foot ahead of your hands.
- Rounded shoulders: Collapsing through the upper back puts pressure on the shoulders. Fix: Push the floor away with your forearms to keep your shoulder blades flat and stable.
- Prioritizing time over form: Holding a plank longer with bad form reinforces poor patterns. Fix: Stop as soon as your form starts to break, even if that is at 20 seconds.
Plank Variations for Every Fitness Level
Plank Variations for Every Fitness Level
Once you can hold a standard forearm plank for 30 seconds with good form, try these variations to keep challenging your core.
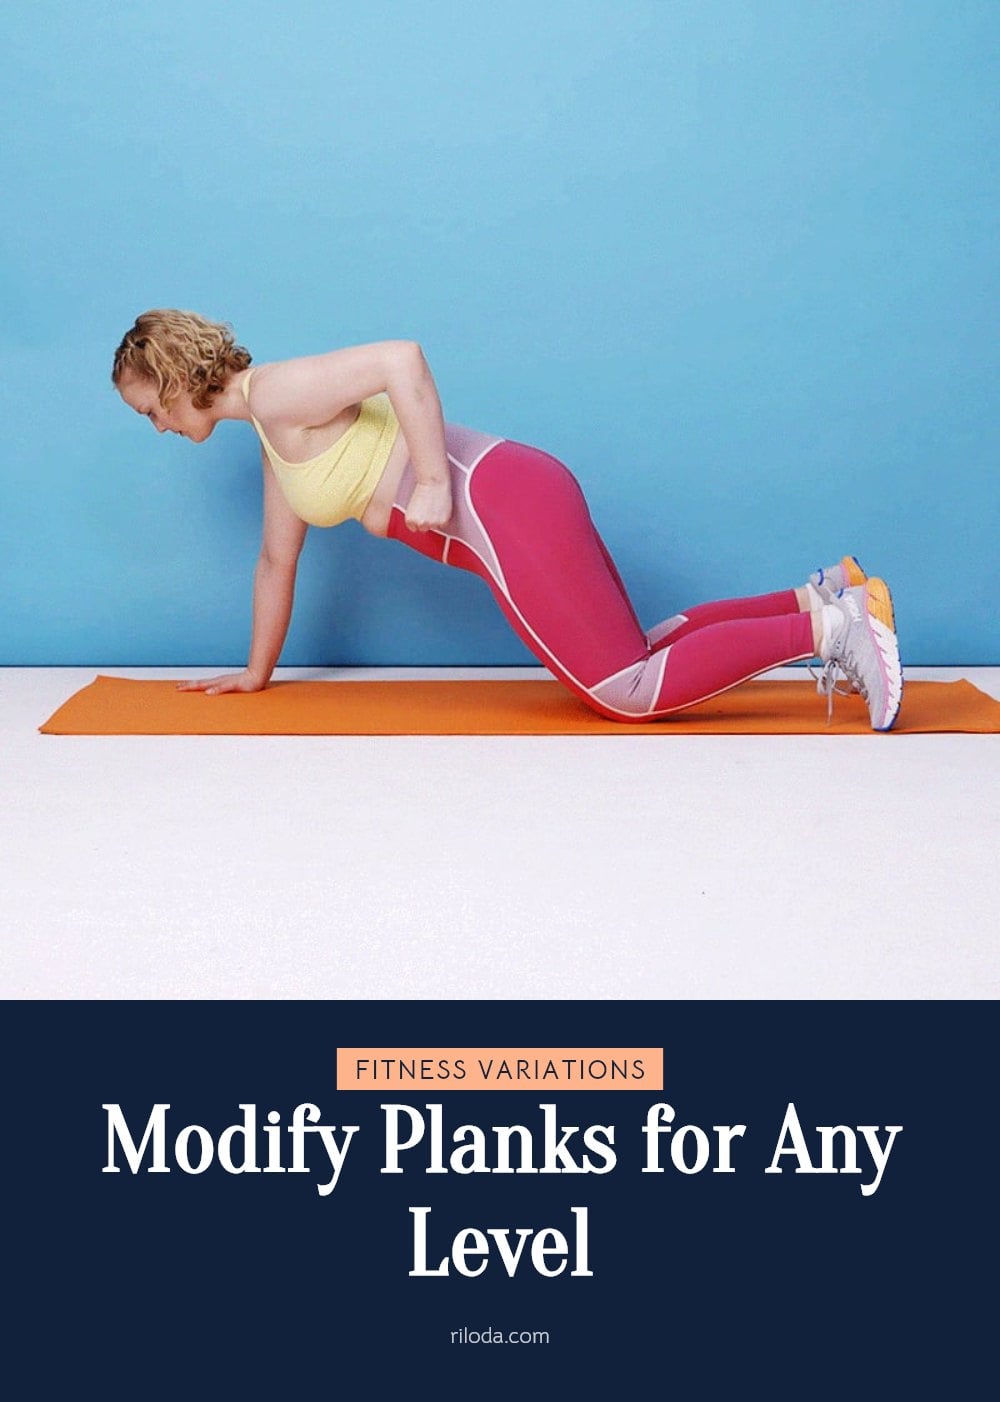
Knee plank (easier): Lower your knees to the mat while keeping your body in a straight line from knees to shoulders. This reduces the load on your core and is great for building endurance safely.
Elevated plank (easier): Place your hands on a sturdy bench, chair, or step instead of the floor. The higher the surface, the easier the hold. This also shifts more weight to your arms and shoulders.
Side plank (oblique focus): Lie on one side with your elbow directly under your shoulder. Stack your feet and lift your hips, forming a straight line from head to feet. Hold for 15-30 seconds per side. Tip: If this feels too hard, bend your bottom knee and rest it on the mat for support.
Plank jacks (cardio + core): From a high plank position (hands under shoulders, legs straight), jump both feet apart and back together like a jumping jack. Keep your hips stable and core tight. Do 10-15 reps.
Plank with leg or arm lift (advanced): From a forearm plank, slowly lift one foot a few inches off the floor and hold for 2-3 seconds, then switch legs. For an arm lift, extend one arm forward. This challenges your balance and deep core stabilizers. Caution: Only attempt this once you can hold a standard plank for 45 seconds with perfect form.
Pro Tips for Maximizing Your Plank Workout
Pro Tips for Maximizing Your Plank Workout
Small tweaks make a big difference in how much you get out of each plank.
- Engage your glutes and thighs: Squeeze your glutes and press your thighs together slightly. This stabilizes your pelvis and prevents your hips from sagging.
- Prioritize quality over duration: A 20-second plank with perfect alignment builds more strength than a 60-second hold with a curved back or raised hips.
- Add planks to a full-body routine: Include them after compound exercises like squats or push-ups, or as a finisher. Three rounds of 30-second holds can be enough.
- Listen to your body: Stop if you feel your form breaking down. Rest 30-60 seconds between sets, and skip a day if your core feels overly fatigued.
How Often to Plank and When to Expect Results
How Often to Plank and When to Expect Results
Aim for 3 to 5 plank sessions per week, with at least one rest day between sessions for muscle recovery.
With consistent practice, you may notice improved core stability and posture within a few weeks. Visible changes in muscle tone or significant strength gains often take 4 to 8 weeks, depending on your starting point and how often you train.
Consistency matters more than intensity. A short daily plank with good form builds long-term strength better than infrequent long holds.
When to Consult a Professional About Planks
When to Consult a Professional About Planks
Stop immediately if you feel sharp pain in your lower back, shoulders, or neck during a plank. This is a sign to pause and reassess your form or skip the exercise.
If you have a pre-existing back, shoulder, or wrist injury, talk to your doctor or a physical therapist before adding planks to your routine. They can recommend safe modifications.
Pregnant individuals should seek medical advice before planking, as the exercise can increase abdominal pressure. If you are unsure whether your form is correct, a certified fitness trainer can provide personalized feedback.
Frequently Asked Questions
How long should a beginner hold a plank?
If you’re new to planks, start with holds of 20 to 30 seconds. Focus on maintaining a straight line from head to heels and breathing steadily. Once you can do that with ease, gradually increase the duration by 5 to 10 seconds each session. There’s no rush, good form is your priority.
Can planks help with back pain?
Many people find that strengthening the core muscles through planks can help reduce lower back pain by improving posture and stability. However, if you already have back pain, it’s important to check with a doctor or physical therapist before starting. Stop immediately if the exercise makes the pain worse.
What is the best way to breathe during a plank?
Breathe deeply and steadily throughout the hold. Inhale through your nose and exhale through your mouth, keeping your breath even. Avoid holding your breath, as this can increase blood pressure and make the exercise harder. A calm, consistent breath helps you maintain form and stay in control.
Are planks bad for your wrists?
Standard forearm planks put little to no pressure on the wrists, making them a good option if you have wrist sensitivity. If you prefer a straight-arm plank (on your hands), you can place your hands on dumbbells or push-up bars to keep your wrists in a neutral line. Discontinue if you feel sharp pain.
How often should I do planks for results?
For best results, aim for 3 to 5 plank sessions per week, with at least one rest day in between to allow your muscles to recover. Consistency matters more than frequency, doing a few sets of good-quality planks several times a week will yield noticeable improvements in core strength and stability over time.
Final Thoughts
If you take one thing away from this guide, let it be this: prioritize form over time. Holding a perfect 30-second plank is far more effective than a wobbly 2-minute one. With consistent practice, about 3 to 5 sessions a week, you can expect to see improvements in core stability and posture within a few weeks. So get into position, breathe, and let your core do the work.
The information in this article is for general informational purposes only and is not a substitute for professional medical advice, diagnosis, or treatment. Always consult a qualified healthcare provider or fitness professional before starting a new exercise program, especially if you have a pre-existing condition or injury.
More Blog ideas
- How to Use Rose Water for Radiant Skin and Healthy Hair
- What Is My Personality Type? Understanding Yourself Better
- How to Clean Your Pores at Home
- Vitamin C Benefits for Skin and Health Plus the Best Foods
- How to Start Shadow Work for Deeper Self-Understanding
- How to Prep Your Hair Before Bleaching for Less Damage
- How to Prepare Sea Moss Gel at Home for Wellness
- How to Use Rice Water for Glowing Skin and Shiny Hair
- How to Find Morning Motivation When You Want to Stay in Bed
- Filing Nails: How to File Nails Correctly for Strong, Healthy Fingernails
- Healthy Coping Skills: Proven Strategies for Difficult Times
- Simple Ways to Romanticize Your Life Every Day