How to Lose Back Fat with Simple Exercises and Habits
Discover how to reduce back fat with effective exercises, diet tips, and lifestyle changes. Get a smoother back and boost your confidence.

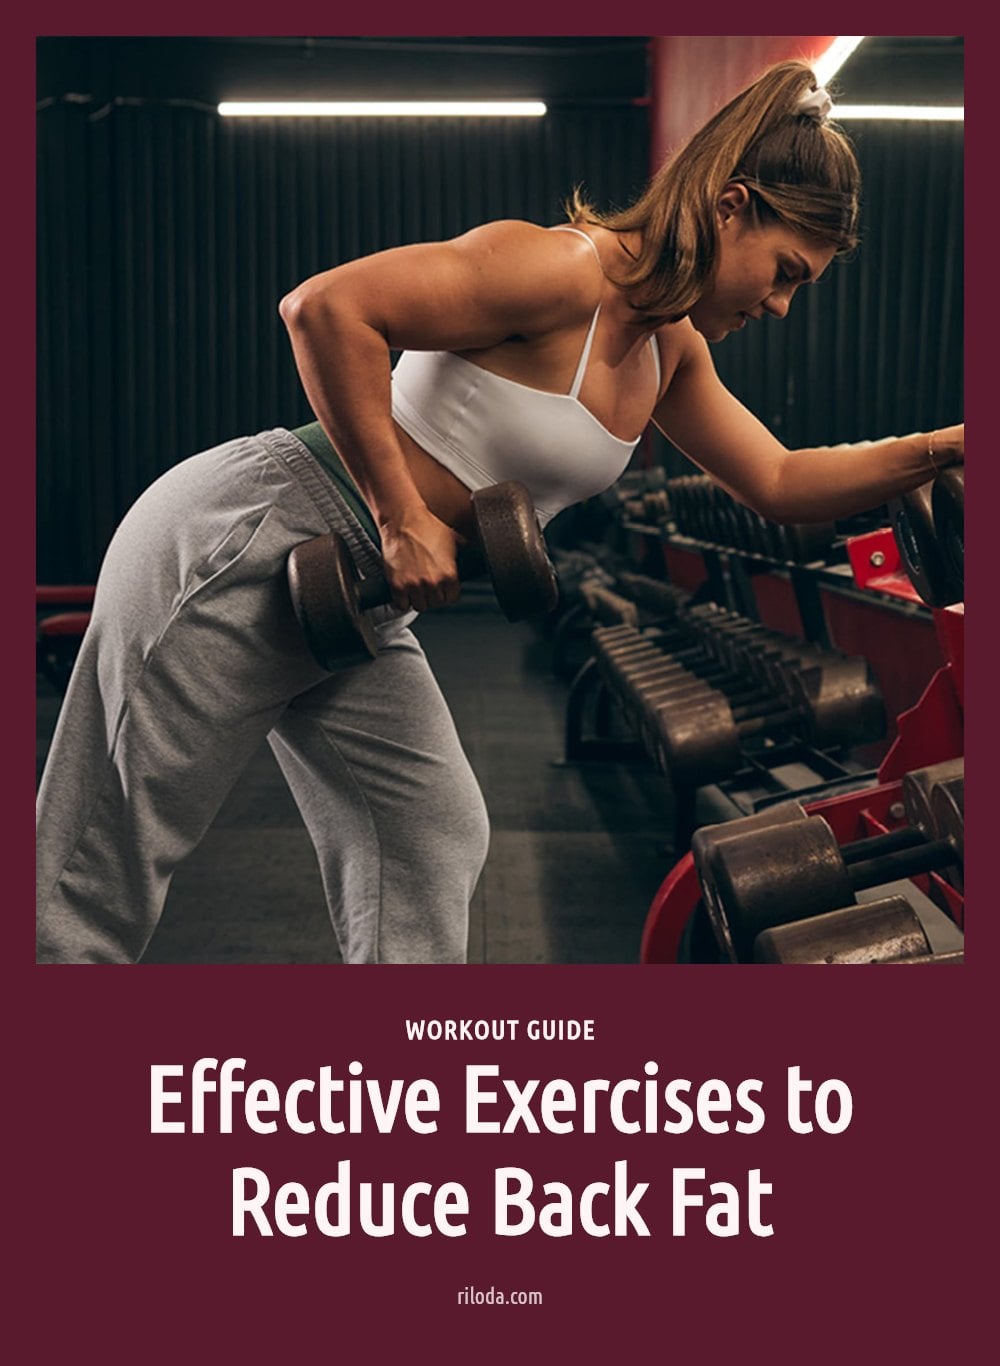
You’ve noticed some extra fullness around your bra line or upper back, and you’re wondering how to smooth things out. The truth is, you can’t target fat loss to just one area, but you can build stronger back muscles and improve your overall body composition. This article covers the most effective exercises, the habits that support fat loss, and what to expect along the way.
Key Takeaways
- Spot reduction is not possible; back fat decreases only with overall body fat loss.
- Combine strength training (rows, pulldowns, reverse flyes) with cardio 2-3 times per week.
- Eat a balanced diet with lean protein, fiber, and healthy fats to support a caloric deficit.
- Improve your posture to reduce the appearance of back rolls immediately.
- Expect visible changes in body composition within 8-12 weeks of consistent effort.
How to Reduce Back Fat Effectively
Back fat is reduced through overall body fat loss, not spot reduction. Combining strength training for back muscles with cardiovascular exercise helps create a caloric deficit while building muscle tone. A balanced diet and healthy lifestyle habits, including adequate sleep and stress management, are crucial for sustainable results.
1. Warm-Up: Arm Circles
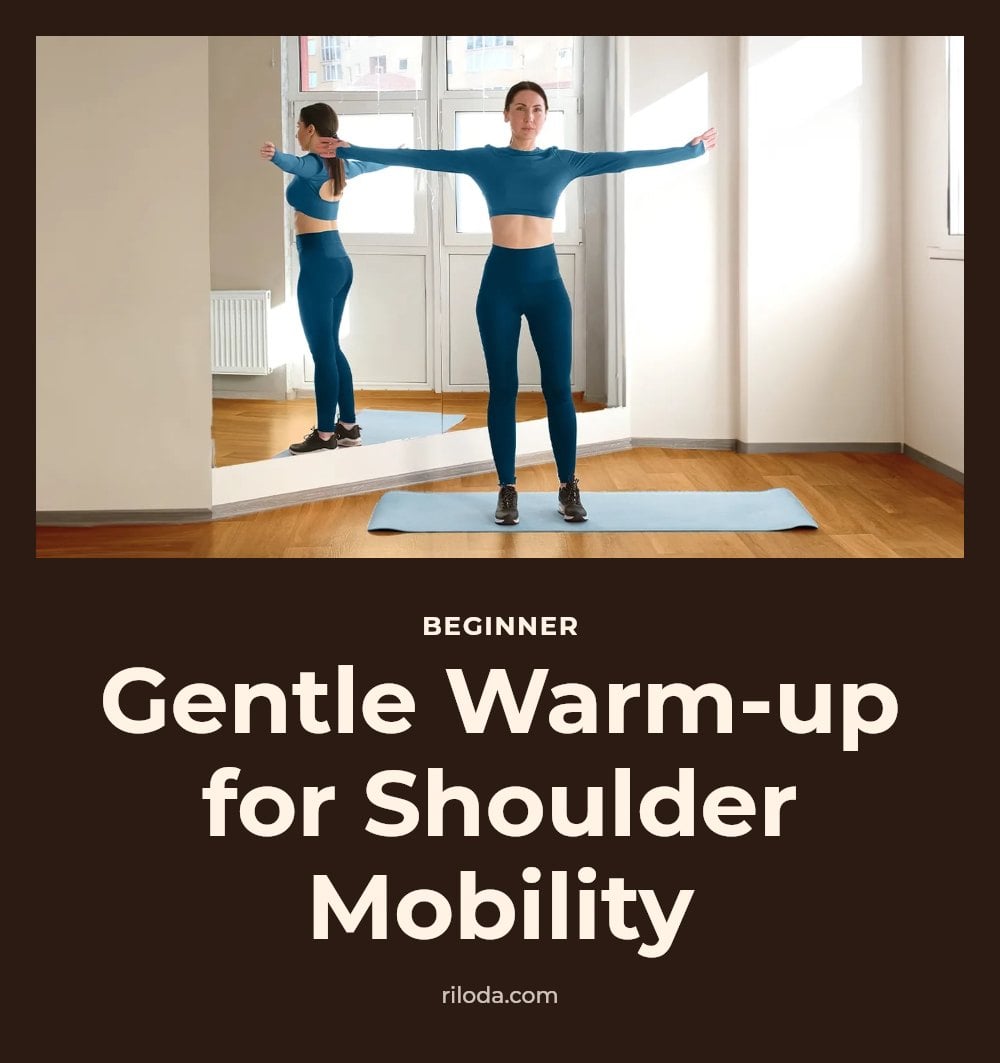
Stand tall with your feet shoulder-width apart and arms extended straight out to the sides. Make small forward circles for 30 seconds, then reverse direction for another 30 seconds. Keep the movements controlled to warm up the shoulder and upper back muscles.
- Time: 30 seconds forward, 30 seconds reverse
- Form cue: Keep your arms at shoulder height and your core engaged
- Make it easier or harder: Use smaller circles for a gentler warm-up; gradually increase circle size to challenge range of motion
2. Dumbbell Rows
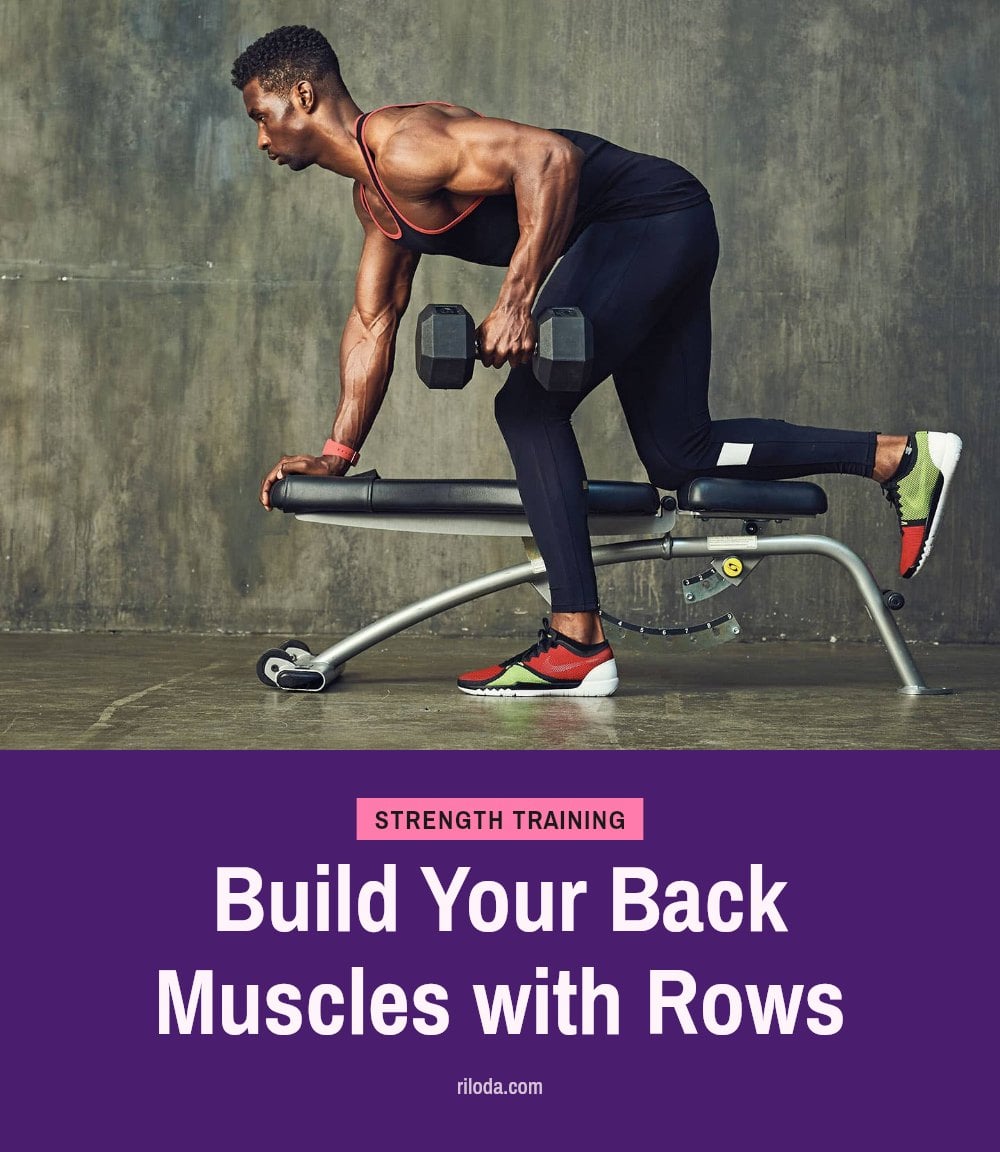
Hinge at your hips, keeping your back straight, with a dumbbell in each hand hanging below your shoulders. Pull the dumbbells toward your chest, squeezing your shoulder blades together at the top of the movement. Lower the weights with control and repeat.
- Sets and reps: 3 sets of 10-12 repetitions
- Form cue: Keep your elbows close to your body and pause for a second at the top of each pull
- Make it easier or harder: Use lighter dumbbells or no weight to master the hinge pattern; increase weight only when you can maintain a flat back
3. Lat Pulldowns (or Resistance Band Pulldowns)
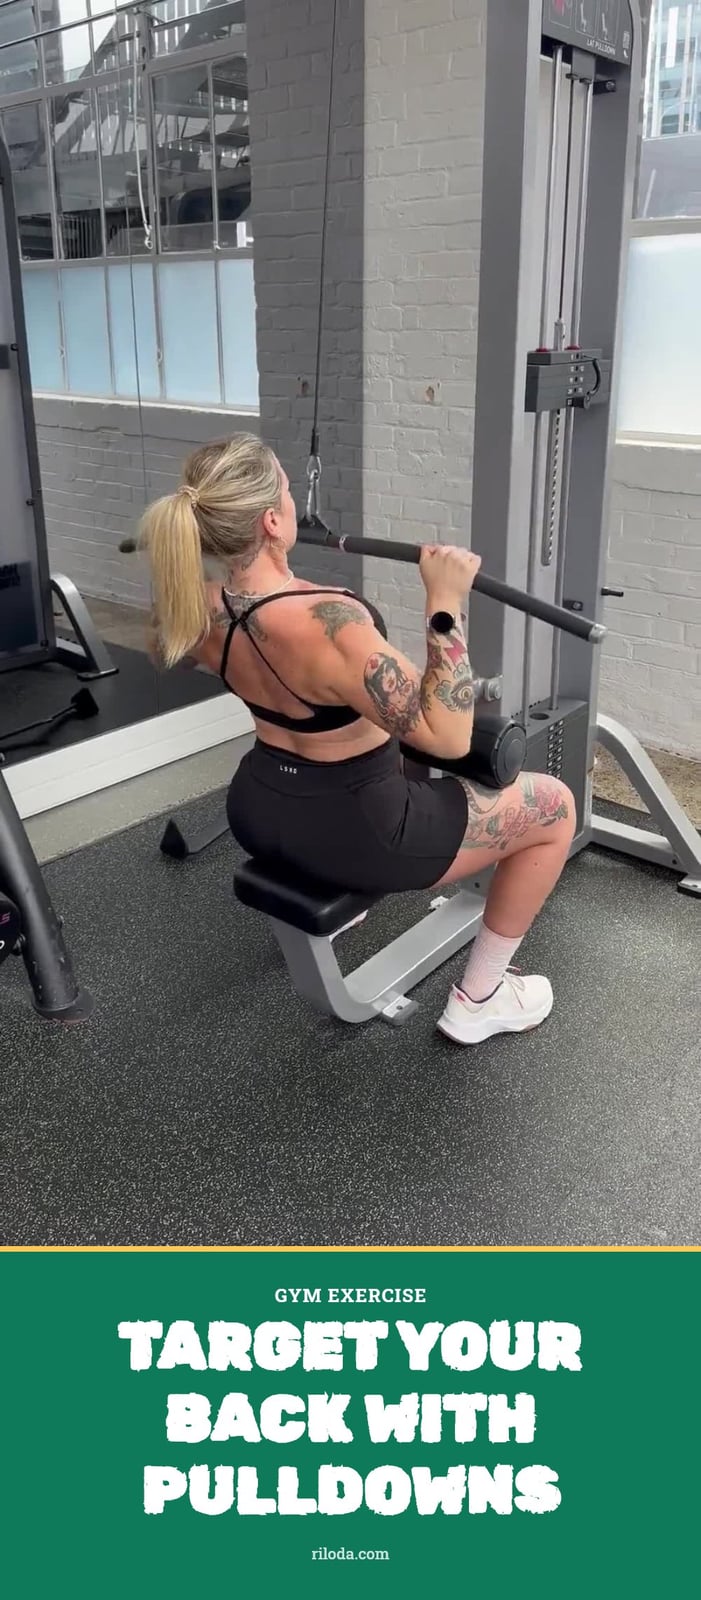
If using a lat pulldown machine, sit with your knees secured under the pads and grip the bar with hands wider than shoulder-width. Pull the bar down to your upper chest, engaging your lat muscles as you squeeze. If using a resistance band, anchor it to a high point like a door frame or pull-up bar, then pull the band down to your upper chest using the same motion.
- Sets and reps: 3 sets of 10-12 repetitions
- Form cue: Pull the bar or band down in a smooth motion and avoid leaning back
- Make it easier or harder: Use a lighter band or reduce weight on the machine; for more challenge, increase weight or use a slower tempo on the lowering phase
4. Reverse Flyes with Dumbbells
Hold a light dumbbell in each hand and hinge forward at your hips, keeping a slight bend in your knees and your back flat. From this position, raise your arms out to the sides until they are parallel to the floor, squeezing your shoulder blades together. Keep a slight bend in your elbows throughout the movement.
- Sets and reps: 3 sets of 12-15 repetitions.
- Form cue: Focus on squeezing your shoulder blades, not just moving your arms.
- Make it easier or harder: Use lighter dumbbells to start, or increase weight gradually as you build strength.
5. Back Extensions (Superman)
Lie face down on your mat with your arms and legs fully extended. Simultaneously lift your chest, arms, and legs off the floor, squeezing your lower back muscles at the top. Hold for one second, then slowly lower back to the starting position.
- Sets and reps: 3 sets of 12-15 repetitions.
- Form cue: Keep your neck neutral by looking at the floor, not up.
- Make it easier or harder: Lift only your upper body at first, or add a light weight held at your chest for more challenge.
6. Push-Ups
Start in a plank position with your hands slightly wider than shoulder-width apart and your body in a straight line from head to heels. Lower your chest toward the floor, keeping your elbows at a 45-degree angle to your torso. Push back up to the starting position.
- Sets and reps: 3 sets of as many reps as possible.
- Form cue: Keep your core engaged and hips from sagging or piking.
- Make it easier or harder: Perform the exercise on your knees for a modified version, or elevate your feet on a step for more difficulty.
7. Plank
Place your forearms on the floor with your elbows directly under your shoulders and your toes on the ground. Hold your body in a straight line from head to heels, engaging your core and glutes to maintain a flat back. Breathe steadily and hold the position.
- Time: Hold for 30-60 seconds, 3 sets.
- Form cue: Squeeze your glutes and pull your belly button toward your spine.
- Make it easier or harder: Drop to your knees for a shorter lever, or lift one leg for an added challenge.
8. Cool-Down: Child’s Pose
Kneel on your mat and sit back on your heels, then lower your torso forward until your forehead rests on the floor. Keep your arms extended straight in front of you or let them rest alongside your body. Breathe deeply and hold the position for 1 to 2 minutes to release tension in your upper and lower back.
- Time: 1-2 minutes, 1 set
- Form cue: Let your hips sink toward your heels as you relax into the stretch
- Make it easier or harder: Place a folded towel under your knees for cushioning; to deepen the stretch, walk your hands forward a few inches
Why Back Fat Accumulates
Where your body stores fat is largely determined by genetics and hormones, so some women naturally carry more fat on their upper back or near the bra line. Overall body fat percentage also plays a major role; back fat decreases only when you reduce total body fat through a caloric deficit. Poor posture can make the area look more pronounced, because slouching causes the skin and tissue to bunch together. Chronic stress raises cortisol levels, which may encourage fat storage, while inadequate sleep disrupts the hormones that regulate appetite and metabolism. A combination of consistent exercise, balanced nutrition, good posture, and stress management is the most effective approach to reducing the appearance of back fat.
Your Weekly Back Fat Reduction Plan
This weekly schedule combines strength training, cardio, and active recovery. Perform the back exercises from this article on strength days. Adjust the intensity and duration based on your current fitness level.
| Day | Activity | Notes |
|---|---|---|
| Monday | Strength training (back exercises) | 3 sets of each exercise, 10-12 reps |
| Tuesday | Cardio: 30-45 min moderate pace | Walking, jogging, cycling, or swimming |
| Wednesday | Strength training (back exercises) | Focus on controlled form |
| Thursday | Active recovery or light cardio | Yoga, stretching, or a 20-min walk |
| Friday | Strength training (back exercises) | Increase weight if last rep feels easy |
| Saturday | Cardio: 20-30 min HIIT or steady state | Choose what you enjoy |
| Sunday | Rest or gentle stretching | Hydrate and prioritize sleep |
Diet is always part of the plan. Focus on lean protein, fiber, vegetables, and whole foods while limiting processed items and added sugar. Drink plenty of water throughout the day.
Frequently Asked Questions
How long does it take to see results in back fat reduction?
With consistent diet and exercise, most people notice changes in body composition within 8 to 12 weeks. Individual results vary based on genetics, starting body fat percentage, and how strictly you follow the plan.
Can certain foods cause back fat?
No single food causes fat to accumulate specifically on your back. However, a diet high in processed foods and added sugars can lead to overall weight gain, which may show up as back fat depending on your genetic fat storage patterns.
Is back fat a sign of poor health?
Not necessarily. Where your body stores fat is largely determined by genetics and hormones, so back fat alone doesn’t indicate poor health. However, if you have other risk factors like a high overall body fat percentage or a sedentary lifestyle, it may be worth discussing with a healthcare provider.
Does wearing a tight bra cause back fat?
A tight bra does not cause fat to grow or appear. It can create temporary indentations or bulges in the skin, which may make back rolls more noticeable. Wearing a properly fitted bra can reduce this appearance, but it won’t eliminate the underlying fat.
What is the best type of cardio for fat loss?
Both steady-state cardio (like brisk walking or jogging) and high-intensity interval training (HIIT) are effective for burning calories and supporting fat loss. Aim for at least 150 minutes of moderate-intensity or 75 minutes of vigorous-intensity cardio per week, and choose what you enjoy to stay consistent.
Final Thoughts
To really see a difference in your back, focus on the big picture: consistent strength training, regular cardio, and a diet that supports a caloric deficit. My tip is to stick with the weekly plan for at least 8 weeks before judging your progress, because body composition changes take time. Patience and consistency are your best tools for a firmer, smoother back.
This article provides general information for educational purposes only and is not a substitute for professional medical advice. Always consult a doctor or certified fitness professional before starting a new exercise program, especially if you have pre-existing health conditions or injuries.
More Blog ideas
- How to Use Rose Water for Radiant Skin and Healthy Hair
- What Is My Personality Type? Understanding Yourself Better
- How to Clean Your Pores at Home
- Vitamin C Benefits for Skin and Health Plus the Best Foods
- How to Start Shadow Work for Deeper Self-Understanding
- How to Prep Your Hair Before Bleaching for Less Damage
- How to Prepare Sea Moss Gel at Home for Wellness
- How to Use Rice Water for Glowing Skin and Shiny Hair
- How to Find Morning Motivation When You Want to Stay in Bed
- Filing Nails: How to File Nails Correctly for Strong, Healthy Fingernails
- Healthy Coping Skills: Proven Strategies for Difficult Times
- Simple Ways to Romanticize Your Life Every Day